How to Add Exam – Admin Module Manual
This guide explains how Admin users can create exams, add exam schedules, and generate hall tickets in GegoK12.
Login to Admin Panel
Steps
- Open the GegoK12 login page.
- Enter your Admin Username and Password.
- Click Login to enter the admin dashboard.
Navigate to the Exam Module
Steps
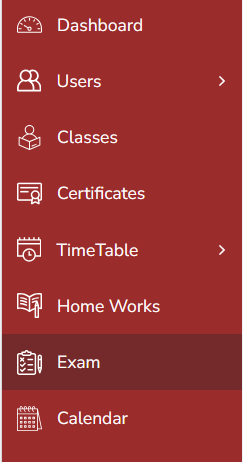
- From the left-side navigation pane, click Exam.
Add a New Exam
Step 1: Click Add
Steps
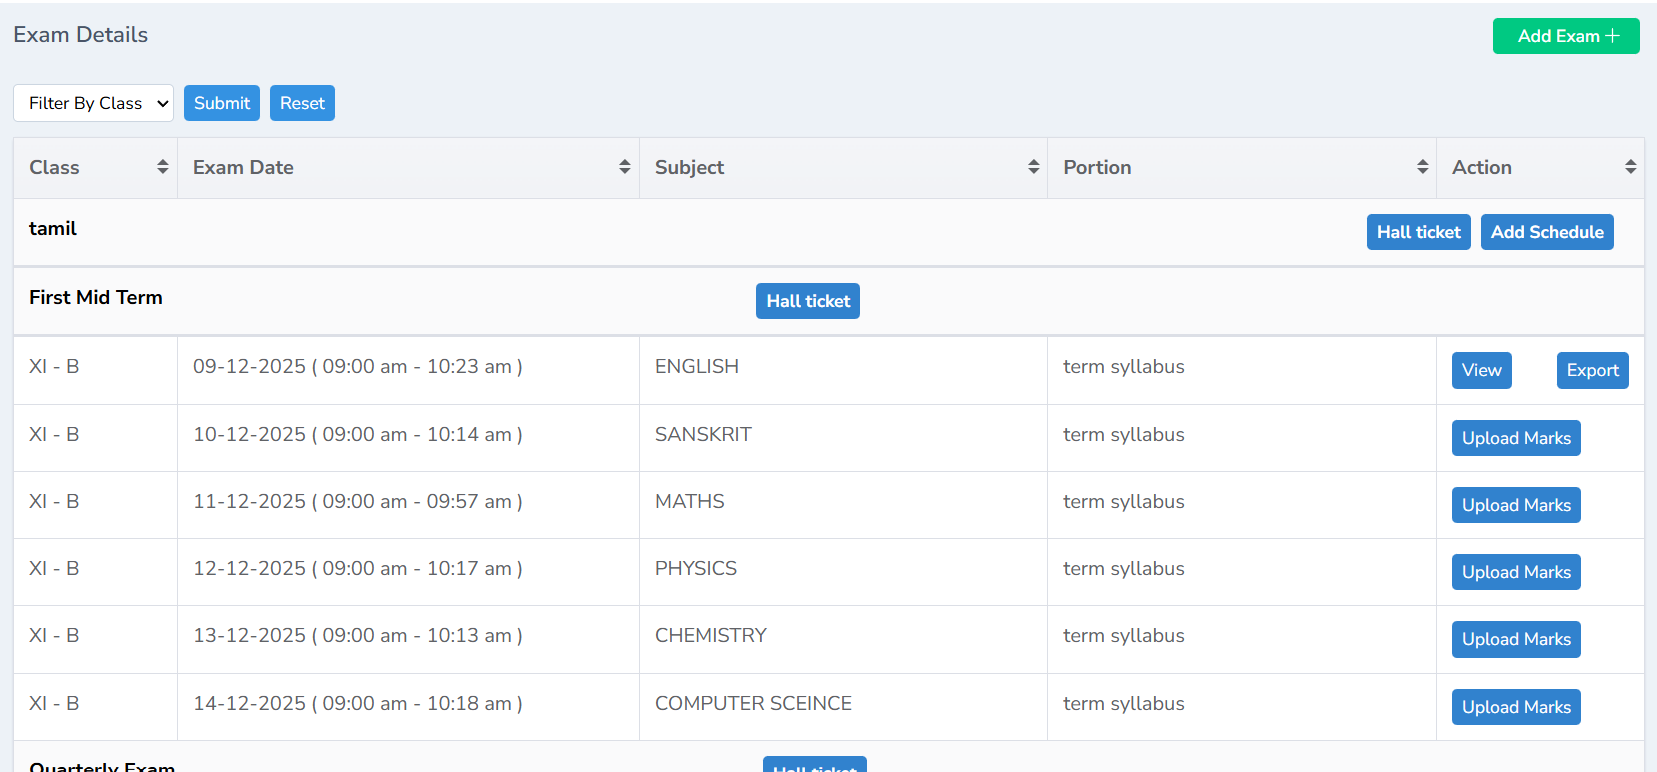
- Inside the Exam module, go to the top-right corner.
- Click the Add button to create a new exam.
![]()
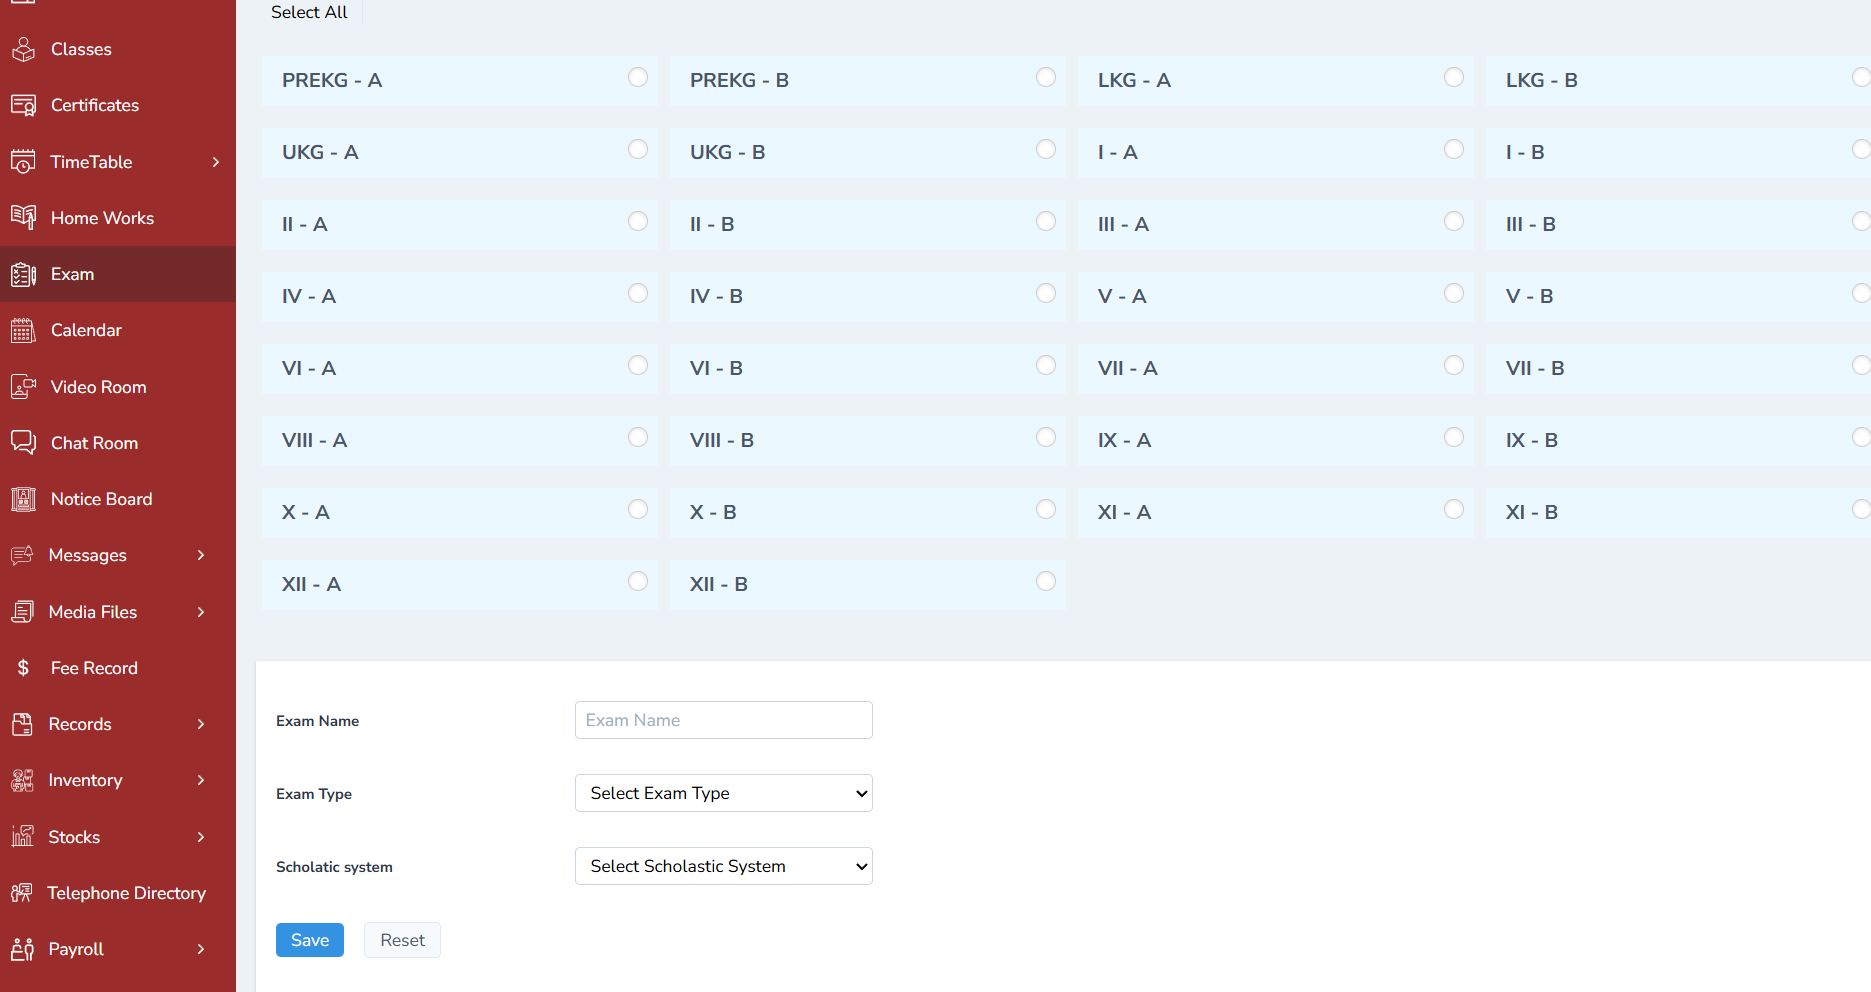
Step 2: Fill Exam Details
A new form will appear. Enter the required exam details such as:
- Class
- Exam Name
- Term / Category
- Description (optional)
- Any additional required fields
After filling in all fields, click Submit.
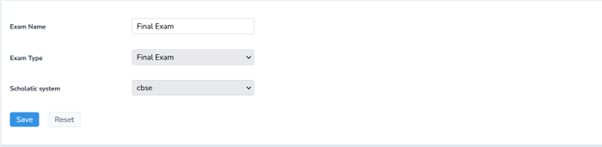
Step 3: Exam Added Successfully
Once saved, the exam will appear in the Exam List for the selected class.
Add Exam Schedule
After adding the exam, the next step is to record the entire schedule for each subject.
Step 1: Click Add Schedule
Steps
- Locate the newly added exam in the list.
- Click Add Schedule.

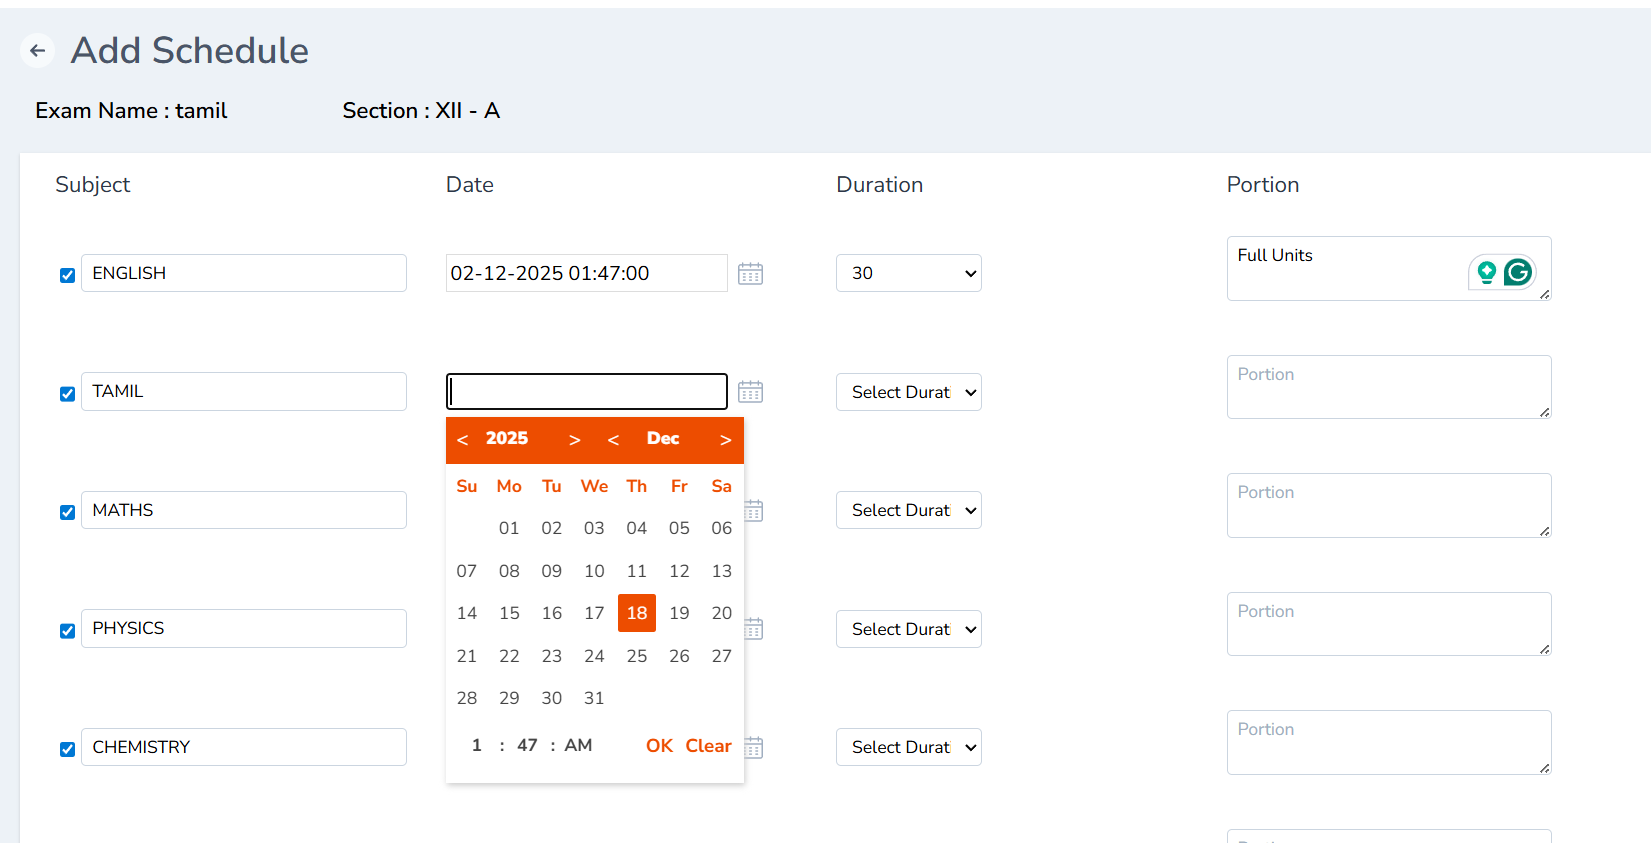
Step 2: Enter Exam Schedule Details
A schedule form will appear. Enter:
- Subject Name
- Exam Date
- Start Time
- Duration
- Portion
Click Save once all details are entered.
Step 3: Final Exam Schedule Display
The complete exam schedule will be displayed under the exam entry with all details clearly arranged.
Generate Hall Tickets
Hall tickets can be generated directly from the exam list.
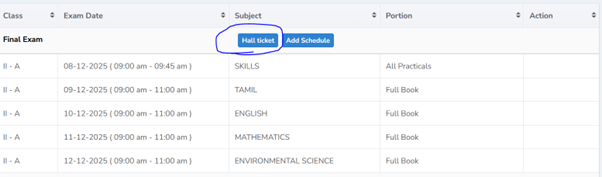
Step 1: Click Hall Ticket
Steps
- Locate the exam for which the hall ticket must be generated.
- Click the Hall Ticket button.
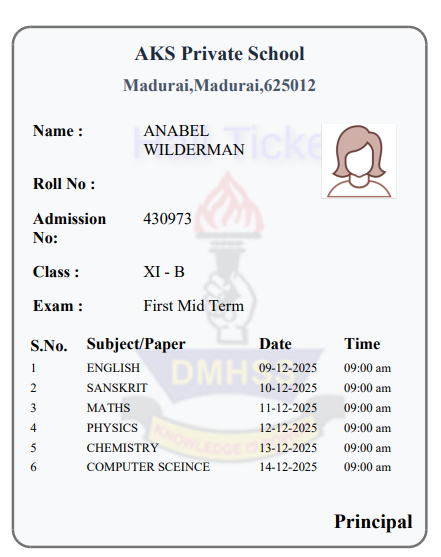
Step 2: Download/Print Hall Tickets
The system will generate hall tickets for students of the selected class.
Upload Exam Marks
Once the exams are completed, the Admin can upload the marks from the dashboard and the teachers can record the marks from the mobile app.
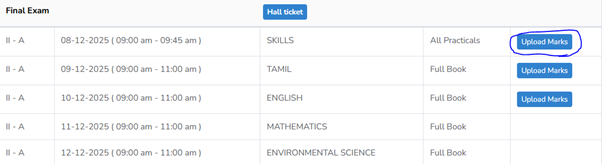
Step 1: Click Upload Marks
Steps
- Click Upload marks.
- A new tab will open.
- Tick sample format and click Save.
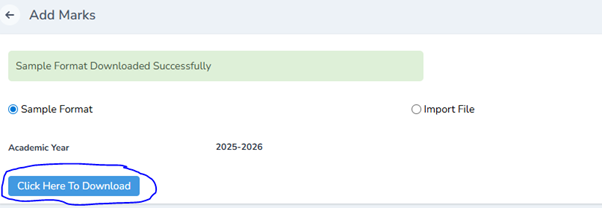
Step 2: Download Sample Format
Once saved, click Here to Download. The sample format will be downloaded in the downloaded folder.

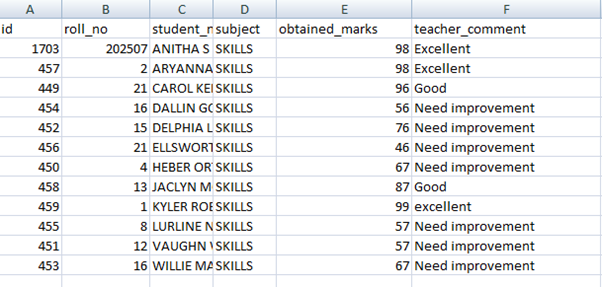
Step 3: Record Marks in Excel Sheet
Record all the details in the excel sheet as shown below and save it.
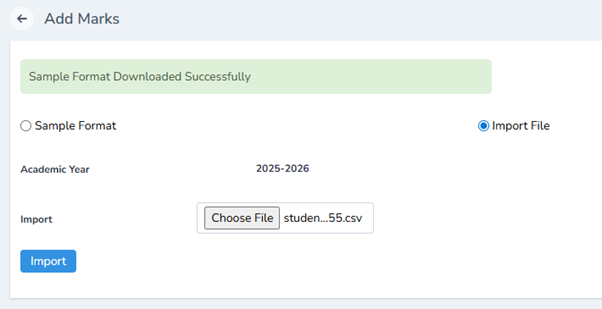
Step 4: Import Marks File
Steps
- Click Import file.
- Choose the right file.
- Click Import.

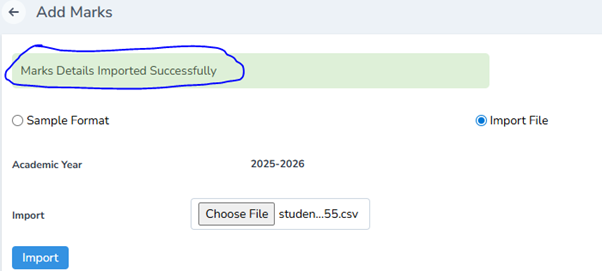
Step 5: Marks Imported Successfully
Once imported, the marks will be imported successfully.
View Exam Marks
Steps
- Click Exam.
- Filter the class you are recording marks for.
- Click View to see the marks obtained in the exam.
Export Exam Marks
Click Export to export the document in the excel sheet.
Completion
You have successfully:
- Added a new exam
- Created a complete exam schedule
- Generated hall tickets for the exam
- Uploaded exam marks
- Viewed and exported exam results
The exam details will now be available to teachers, students, and parents according to their role permissions.
Conclusion
An effective exam management module within a school management software plays a crucial role in ensuring smooth, transparent, and error-free examination processes. By automating tasks such as exam scheduling, hall ticket generation, attendance tracking, evaluation, and result processing, it significantly reduces administrative workload and minimizes human errors. The system enhances accuracy, maintains data security, and provides timely access to exam-related information for administrators, teachers, students, and parents.